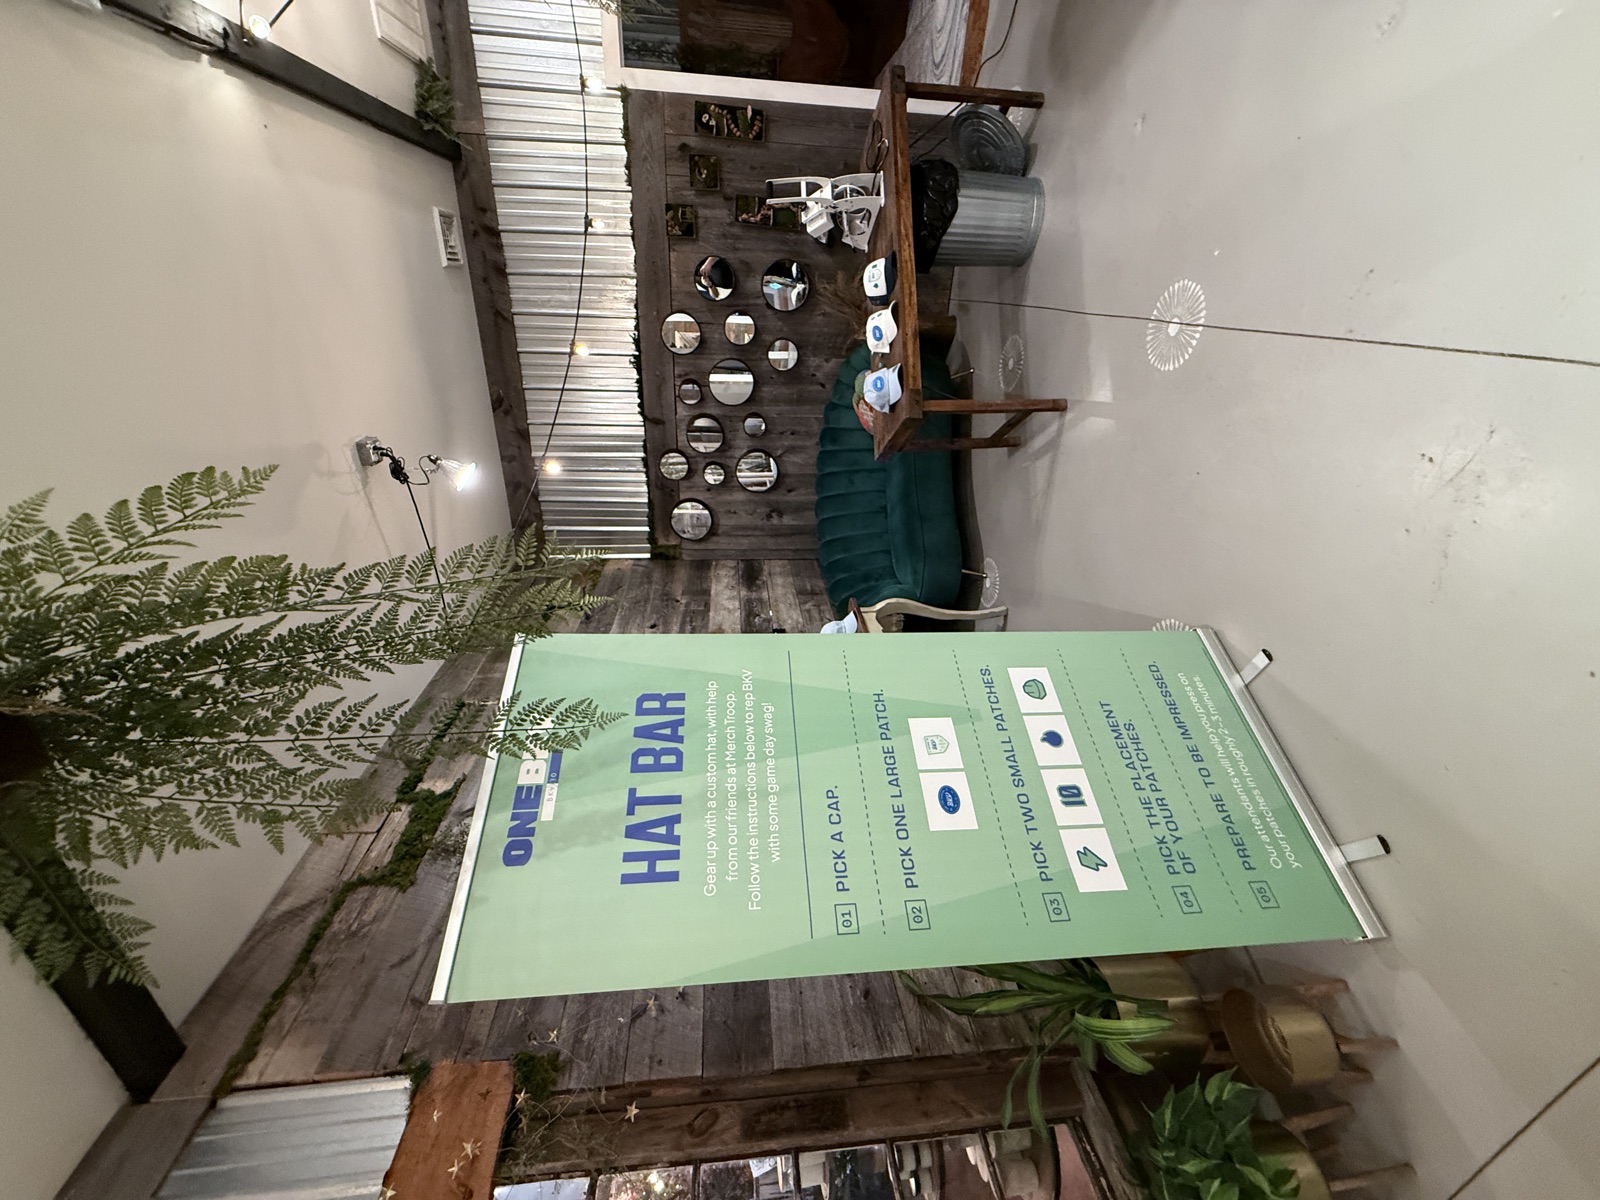
A live event embroidery activation succeeds or fails on one thing: the guest path. The machine is the easy part. What decides whether the line feels premium or stalls into a 40-minute backup is how you plan the footprint, the product menu, the artwork, and the staffing around that machine. This guide walks through the planning sequence Merch Troop uses for corporate events, conferences, trade shows, and brand activations across Orange County, Los Angeles, San Diego, Las Vegas, and nationwide programs.
Start with the guest path, not the machine
Before you think about heads, thread, or blanks, map how a guest moves through the station. A clean live embroidery line has four stations, and they should read left to right so the queue never doubles back on itself:
- Entry & selection. The guest picks a product and a placement (front of cap, side, back, or a tote panel). Keep choices small — two or three blanks, two or three thread colors.
- Personalization capture. If you're adding names or initials, a staffer writes them on a numbered claim ticket that travels with the item.
- Production. The operator hoops, runs the design, and the embroidery head does its work. This is the only step the guest can't speed up.
- Trim & handoff. A finisher clips jump-stitches, removes backing, bags the piece, and hands it over by ticket number.
When guests can browse and personalize while earlier pieces are still sewing, the station feels fast even though each cap takes the same number of minutes on the head. That parallel flow is the single biggest lever you control.
Right-size the throughput to the event
Embroidery is slower per piece than heat-applied methods, and that's a planning input, not a flaw. A single commercial head running a typical event logo — roughly 6,000 to 10,000 stitches — produces one finished item in several minutes once you include hooping and trimming. To plan honestly:
- Estimate how many guests actually want a stitched item (rarely 100% — plan for a realistic take rate).
- Divide that by your event hours to get the per-hour target.
- Match heads and operators to that target. More multi-head capacity or more machines is how you scale, not by rushing each piece.
If the math says you need more output than your hours and heads allow, the fix is a simpler design, more machines, or a redemption model — never a faster guest.
For high-traffic activations, a redemption model works well: guests drop a ticket and pick up a finished piece later in the event, or you ship afterward. That removes the live queue entirely while keeping the on-site theater of watching a head stitch.
Choose products that stitch cleanly on-site
Live runs reward structured, embroidery-friendly blanks. Caps are the workhorse: structured six-panel and trucker styles hoop predictably and show a logo crisply. Beanies, canvas totes, and patches also run well. Soft, stretchy, or heavily textured fabrics are harder to keep stable on a live floor, so save those for shop production.
Keep the menu tight. A two- or three-product menu with one or two logo placements lets your operators build rhythm and keeps your digitizing scope small. See our full breakdown in the best products for live event embroidery guide.
Give artwork real lead time
Embroidery doesn't print a file — it sews a digitized path of stitches that has to be created and tested before the event. Send your logo as a vector (AI, EPS, or SVG) as early as possible. The digitizer converts it into a stitch file, then runs a physical sew-out on the same blank you'll use live to confirm the logo is legible at size, the thread colors are right, and the stitch count is sane.
Build at least a week of lead time for digitizing and sew-out approval on a standard logo, and more if the artwork is detailed or you're stitching on multiple product types. The deeper mechanics are covered in how embroidery digitizing works for event logos.
Plan the crew and the load-in
Staffing
A reliable live station runs with at least an operator per machine plus a host/finisher who manages the line and trims. For busy events, splitting capture, production, and trim across separate people keeps the parallel flow intact. Merch Troop staffs operators, a lead, and finishers sized to your expected volume.
Power, space, and timing
- Power: confirm dedicated circuits — commercial heads plus lights and a laptop add up.
- Footprint: allow room for the machines, a thread/blank table, the queue, and a finishing area. A cramped booth becomes the bottleneck.
- Timing: build in setup and teardown hours on either side of guest time; those hours are real labor and belong in the plan and the budget.
Budget and logistics
A live event embroidery quote is driven by event hours, number of operators and machines, the blanks (and whether you or the vendor source them), digitizing, and travel. For Southern California events in the OC/LA/SD corridor, travel is typically minimal; Las Vegas and nationwide programs add travel and logistics. We break the inputs down in the cost factors guide so your budget reflects the real drivers.
A few logistics details are easy to overlook but make a real difference on event day. Confirm load-in access and timing with the venue early, since freight elevators, dock windows, and union or venue labor rules can shape how long setup takes. Decide ahead of time how you'll handle the guests who arrive after the queue closes — a redemption ticket or a post-event shipment keeps the experience positive without forcing the crew past teardown. And capture a few finished pieces on camera during the event: a structured cap with a crisp stitched logo is some of the strongest proof you can show for the next activation.
Frequently asked questions
How far in advance should I book live event embroidery?
For a standard logo, a few weeks is comfortable — that protects time for digitizing, a sew-out approval, sourcing blanks, and scheduling crew. Larger or multi-city programs benefit from a longer runway.
How many pieces can one machine finish per hour?
It depends on stitch count and hooping, but a single head typically finishes a handful of items per hour on a normal event logo. Scaling output means adding heads, machines, or moving to a redemption model rather than rushing each piece.
Can you source the blanks, or do we provide them?
Either works. Merch Troop can source caps, beanies, totes, and patches to spec, or stitch on blanks you supply — just confirm fabric and structure early so the sew-out matches what runs live.